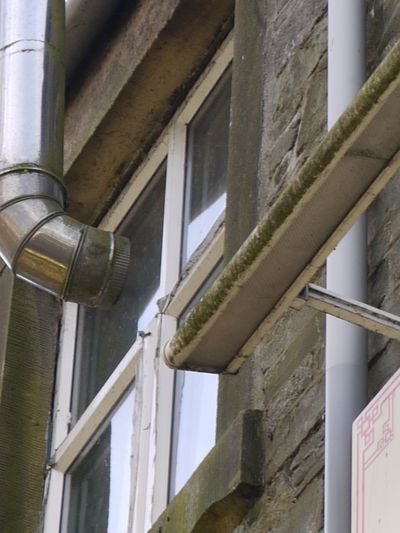
....... and for once I don't mean scones! I ordered some fabric for Mrs Billings from here. The fabric designs are based on the tv programme Downton Abbey - which I have never watched, but I liked the look of the fabric. The colours are luscious, and I am looking forward to getting started
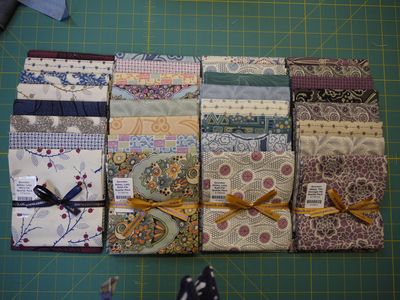
over the weekend, I finished the little Linus quilt that I made from the scraps of the first two, which are also finished
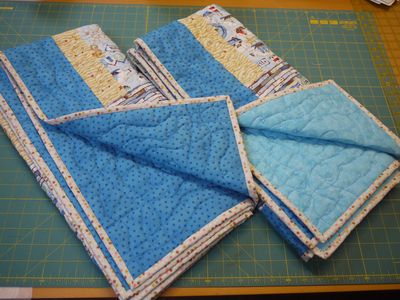
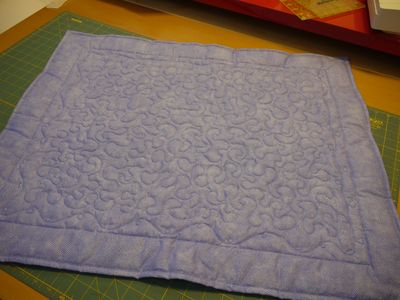
I frre motion quilted the little quilt in much the same way as the bigger ones
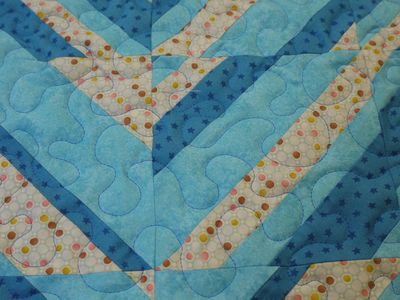
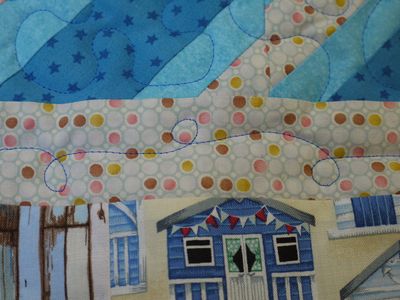
however, I decided to finish the quilt differently. I usually finish quilts with traditional binding, but that uses quite a lot of fabric, so I decided to bring the backing fabric over to the front. First I stitched round the edge with a long basting stitch
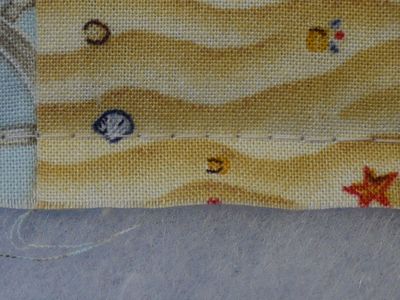
then I trimmed the excess wadding away
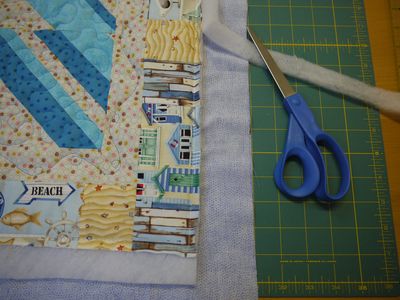
the next stage was to trim the backing fabric to an inch bigger than the quilt
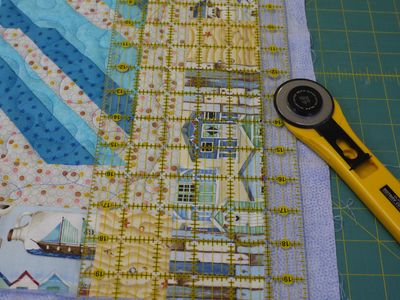
I folded the backing fabric in half, so that the raw edge was lined up with the edge of the quilt
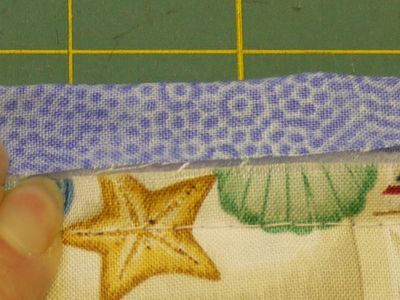
then I folded the backing fabric over again, to enclose the raw adges
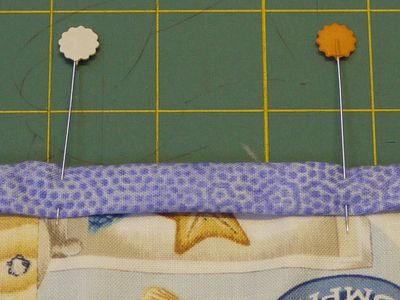
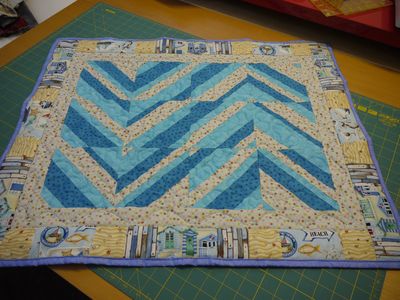
the last stage was to topstitch the "binding" ....... but I forgot to take a close-up of the stitching! So here is the finished quilt
on Saturday Abbey Quilters are having a "cushion day". The cushions will be raffled at our exhibition in the summer, to raise money for charity (every quilting group I have beeen a member of has raised a lot of money for charity). Sandra, our Chairman (and also, of course, our "Linus Lady") mentioned that some of the members had said that they hadn't made cushions before. These are obviously new quilters, because everyone who has been quilting for any length of time has a vast collection of cushions - quite often when you go to a class/workshop you make a sample piece which ends up as an ABC ( Another Bl**dy Cushion!). As I have been making cushions for many, many years, I offered to demonstrate a basic technique, which can be adapted to suit all sorts of cushions. I started by cutting a 12" square for the front of the cushion
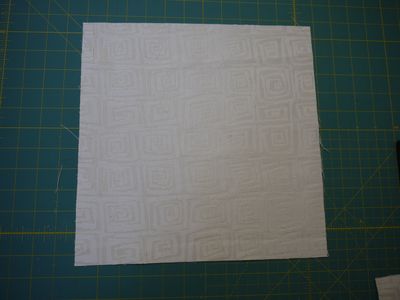
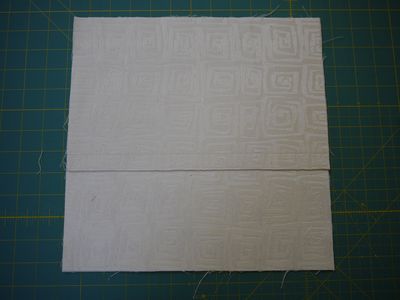
I then cut two rectangles 12"x15" , and folded them in half. The first one was topstitched along the folded edge
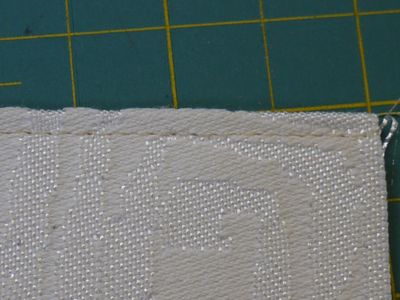
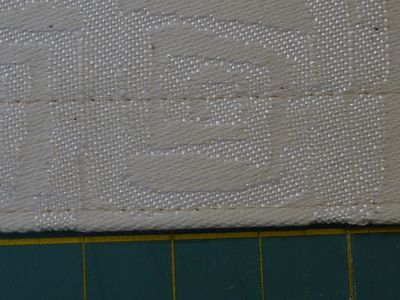
the second one was stitched along the folded edge, then an inch further in
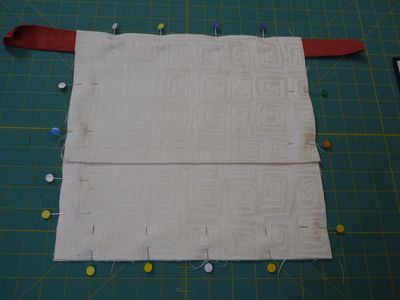
I put the front right side down, then put the first back piece on top, then the second back piece on top of that, aligning the raw edges
this shows the pieces pinned together, and the first length of binding also pinned in place
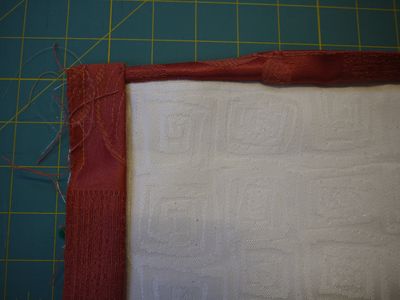
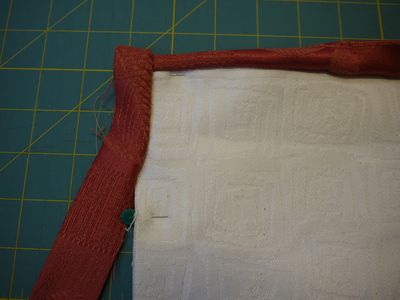
after stitching on the first lot of binding, I just stitched a short length what would be the third side to be done, to show how the corner will look
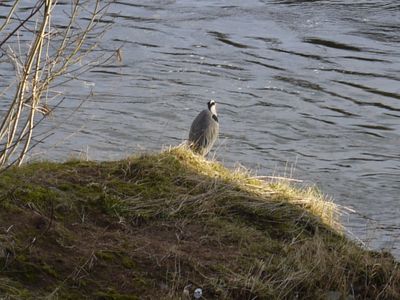
just in case you haven't seen enough herons, here is another one, which I saw in Hawick this morning
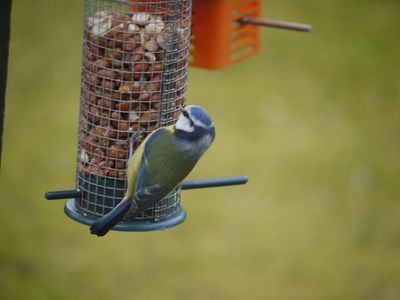
back in the garden, this blue tit provided a bright spot of colour
to finish - something silly! I have shown you photos of this before, but when I went past this morning, I thought I would capture it again. So, why does this chimney go through the windoow?
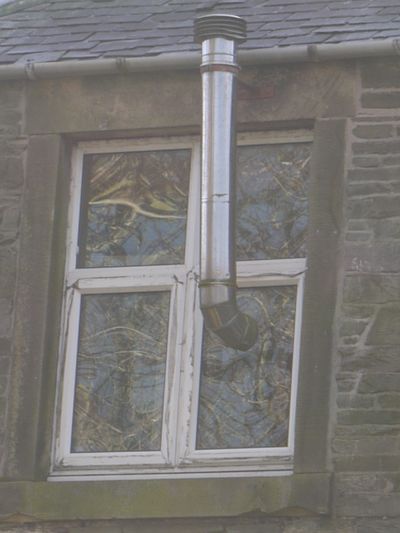
seen from another angle, you can see that it doesn't - but then, why is it there ...... I have no idea!
