I have been busy stitching away over the last few weeks,including making some samples for the next Abbey Quilters meeting, where committee members are going to give hints and tips, and demonstrate gadgets. I started with making binding, then stitching it on, but I have shown you that several times, so we'll start with making bias stems. The first version uses a bias bar. This makes a heavy stem, but it wastes material
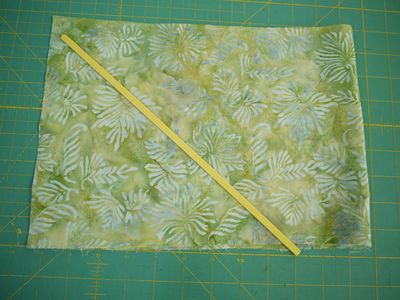
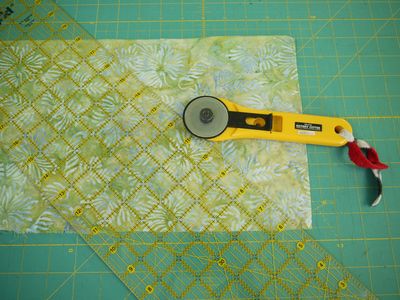
I started by cutting a 1" strip on the bias, which makes a stem a quarter of an inch wide using this method
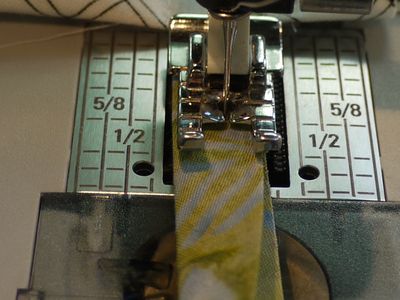
folding the strip in half, wrong sides together, I stitched it just a fraction over a quarter of an inch from the fold
then comes the wasteful bit, as you have to trim away half the seam allowance. I have tried cutting a narrower strip, but it is too fiddly to stitch such a small seam allowance
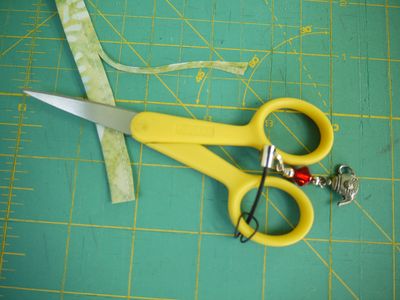
the bias bar is then pushed through the tube, and the seam centred
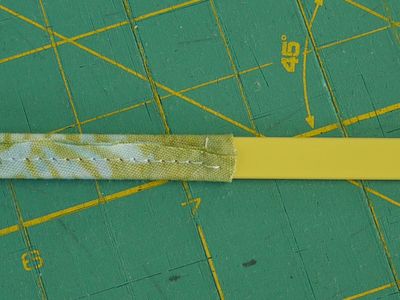
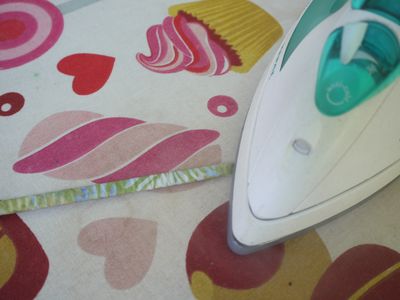
the last stage is to press the tube as you slide it off the bar
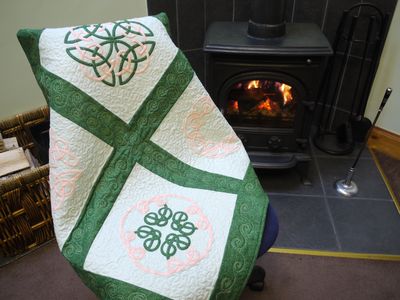
I used this method years ago when I made this small quilt
the second method is using bias tape makers, which are available in different sizes
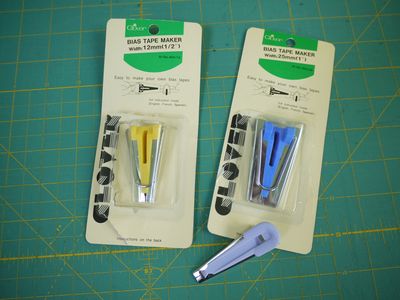
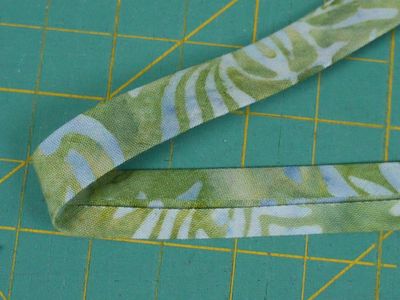
again I cut a 1" strip on the bias, but the difference this time is that it made a stem half an inch wide. You simply insert the strip into the maker, then draw the maker back along the strip as you press the folded edges
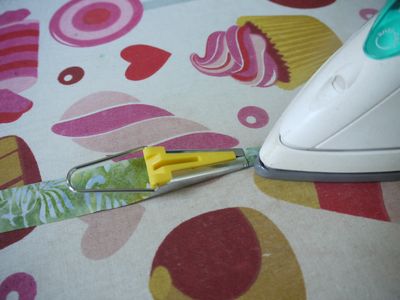
this is my preferred method of making binding, it's quick and economical with the fabric
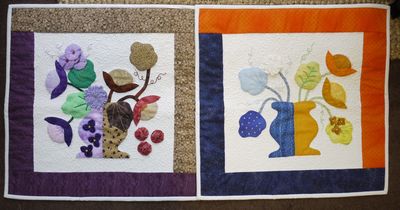
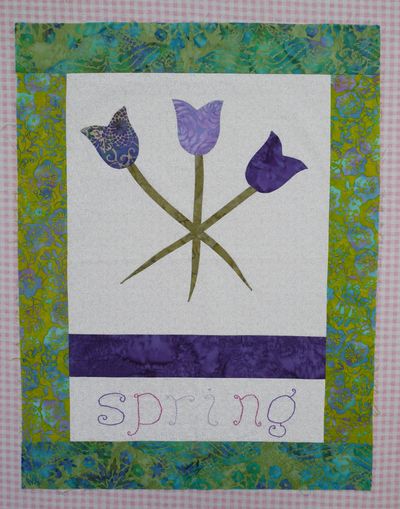
I used this method when I made these two samples ...... it was only when I went to use the photo that I realised that I should have put the pieces the other way round, so that winter, spring, summer and autumn would have been in the right order!
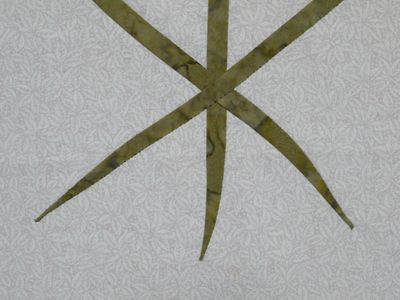
the third method is for when you want your stem to come to a point. Again, I cut a strip on the bias. I folded it in half and pinned it in a curve on a piece of background fabric
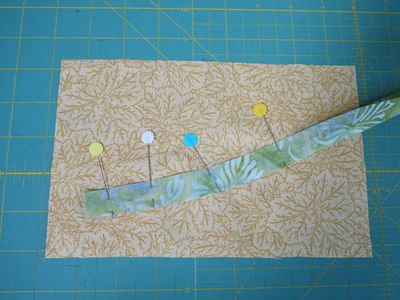
I would normally hand stitch the seam, but to save time I did it on the machine. I started with a wide seam, then gradually narrowed it to a point
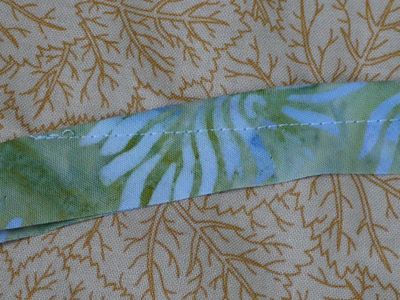
like the first method, this one is also wasteful of fabric, as you have to trim the seam allowance
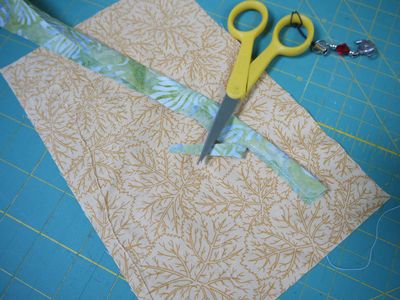
after trimming the seam allowance, you fold the stem over, and stitch it in place. I have just pinned it, so that I can show what to do
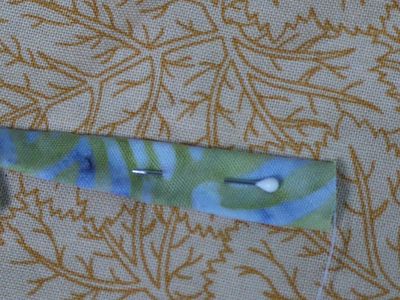
you can see the finished stems on this piece, which I made some years ago
I then thought I ought to make a start to this wallhanging, which several of the group are making
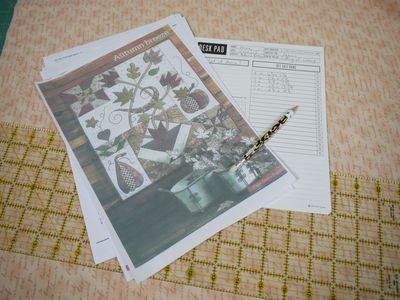
it didn't take long to make the first two leaf blocks
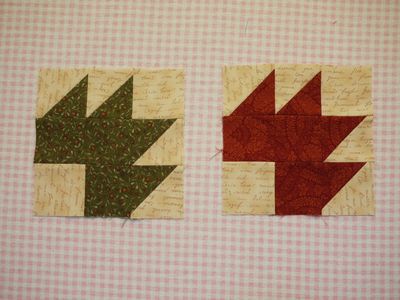
and then the next two blocks
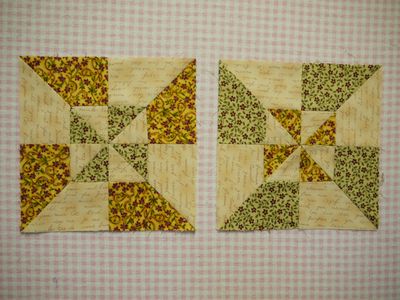
then there was a slight oops, as I realised that I should have made three leaf blocks!
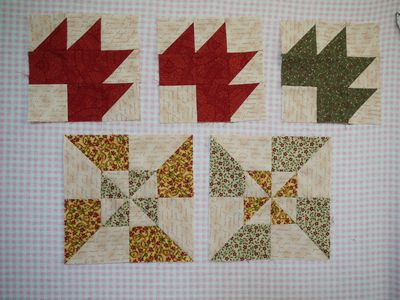
after piecing the remaining blocks, I put them in their places on the design wall
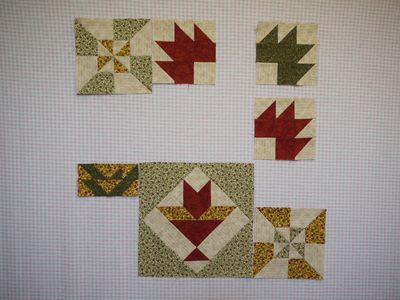
and realised that there was a major oops!! I had misread the pattern, and made the leaf blocks too big. What to do - I could make another three, or I could pochle* the pieces of background fabric which link the pieced blocks together. So I started by sewing the bottom row together, which gave me the width to work to
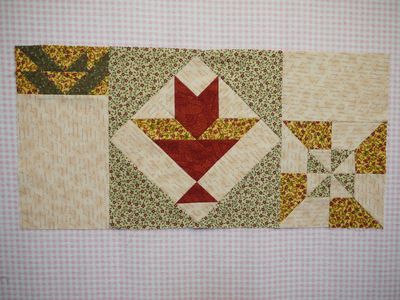
then fitted the other pieces in
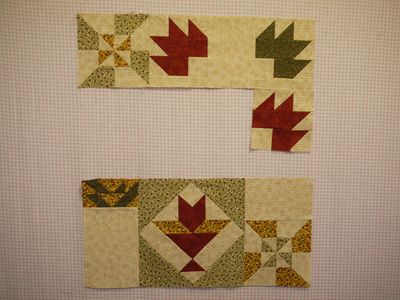
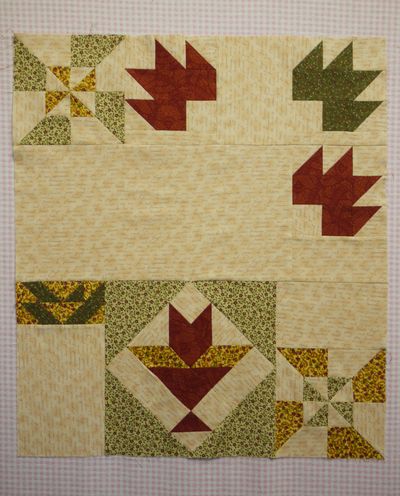
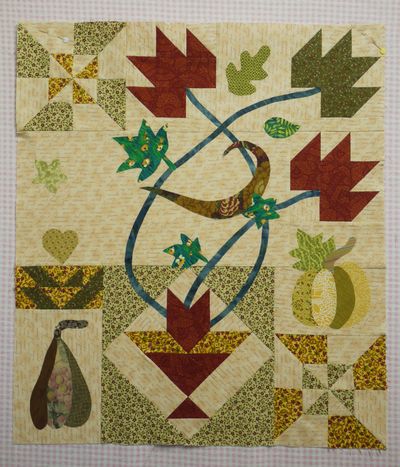
I added the applique pieces, using fusible web. They will be stitched with buttonhole stitch
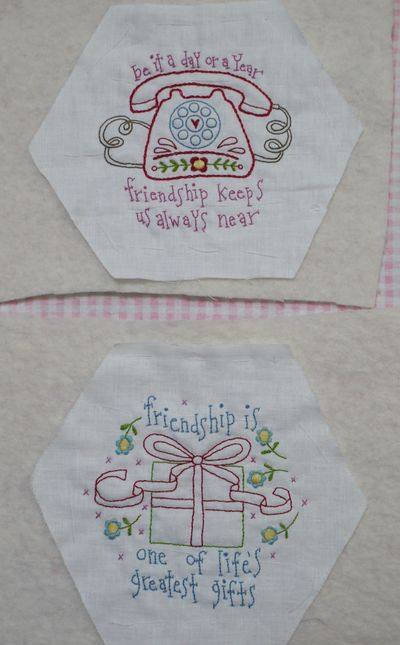
I have also been working away on the stitcheries when we have been over at the flat, and have completed another three
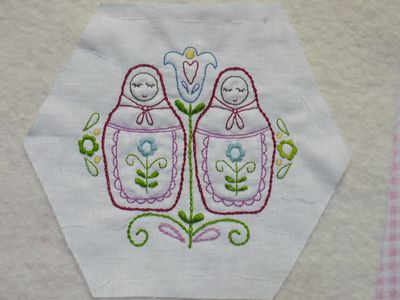
*the lovely word pochle has various meanings, including to cheat (particularly at cards), but in this instance it means to fudge or fiddle the sizes to make it all fit together
and just to return briefly to the snow ....... I wasn't the only one stuck in the snow on Friday


this photo from one of Saturday's newspapers shows the village of Denholm, which I drove through on my way home. I have never seen such big snowflakes!

although it was raining rather than snowing when we went out on Saturday (in Malcolm's car, which shrugs off bad weather!) it was still very cold
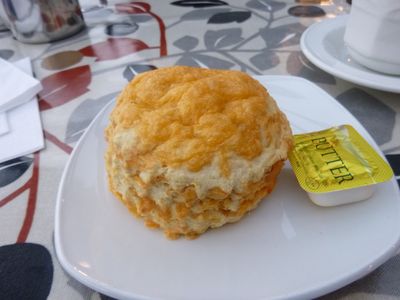
and to finish on a happier note - the first sconnage of the year! An exceedingly delicious cheese scone
