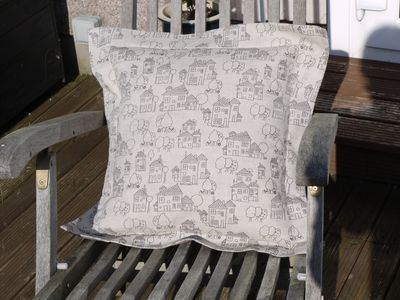
I realised that my sewing has been somewhat lacking in recent posts, so I have rounded up several projects to share with you. First, I have made yet another new cushion
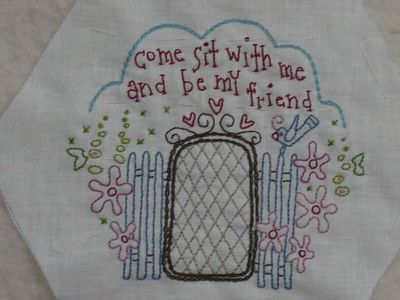
I have still been working on my little stitcheries when we are over at the flat ....... this is, I think, number nineteen
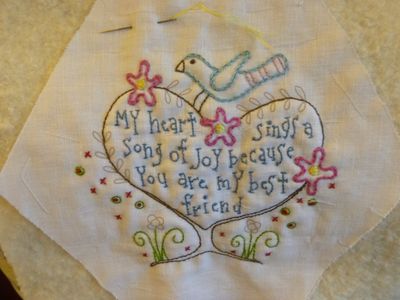
and I have almost finished number twenty
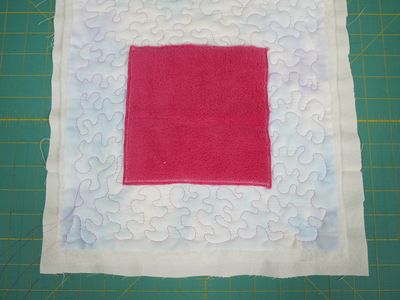
recently Sandra, our lovely Linus Lady, mentioned that one of the organisations that she passes our quilts to had requested a quilt for a blind child. Sandra promptly found a volunteer to make one, but it started me thinking about making a quilt for a blind child. I had a quick play one afternoon in the studio and came up with this idea. I started by cutting a square of fleece, a square of fabric and a square of thick polyester wadding
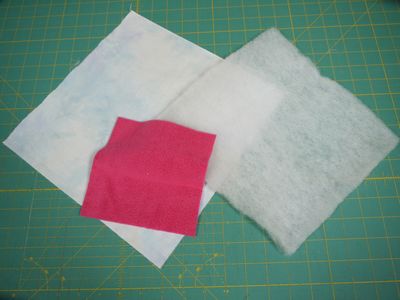
I used a square shape simply for speed, but you could cut any shape from the fleece for little fingers to feel. I pinned the three layers together
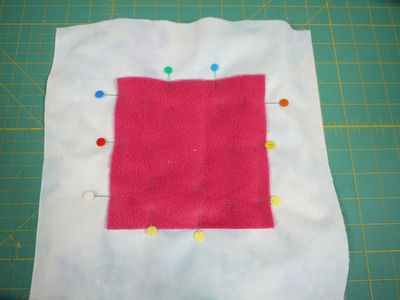
and stitched round the edge of the fleece
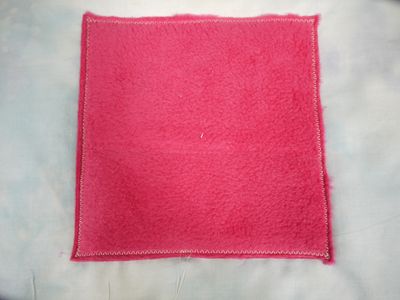
I turned the sandwich over and trimmed away the wadding round the square
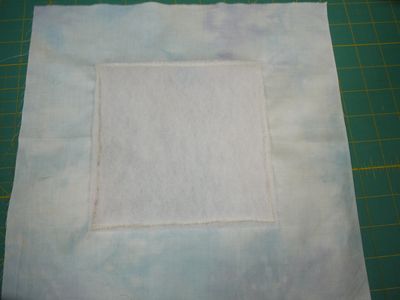
I turned it back over and sandwiched it with a piece of cotton wadding and backing fabric
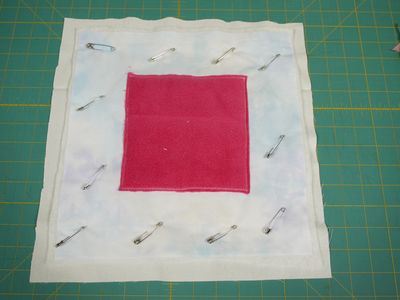
and quilted round the square, which is now raised proud of the background because of the extra wadding. After I had made this sample, I thought that I could also do blocks incorporating different textured fabrics, as well as different shapes
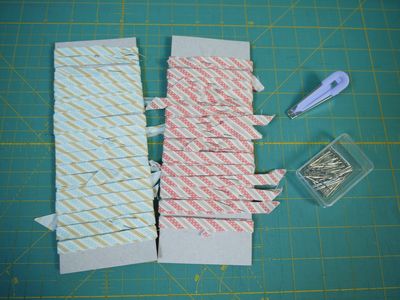
having bought the fabric for the border of my Aunts' Quilt, I thought that I ought to get on with making the bias for the applique which I am going to work on the borders, instead of the scallops on the pattern, which I don't like. So I looked out the ones I had pressed so far, along with the much greater pile of ones still to be done
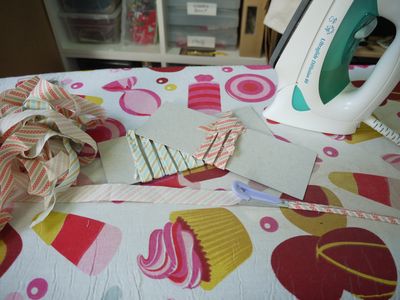
and in no time at all it was all done
and last, but not least ......... I have been working on Mrs Billings
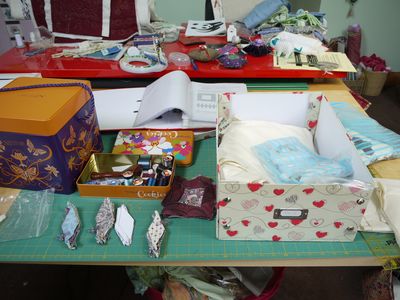
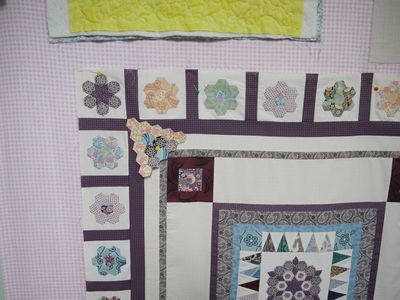
I had got bogged down with it, as I don't like hand piecing, but found I couldn't piece the diamonds accurately enough on the machine. I tried using English paper piecing, and still wasn't happy, so just packed the whole thing away until I decided what to do with it. Then this week I had a brainwave, and decided to use applique. This will seem an overly complicated method for some of you, but it suits me, and means I will now make more progress. This is what I had stitched so far
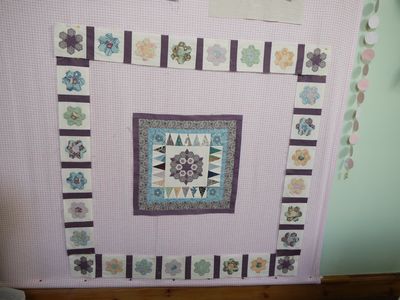
I added the next border, using strips of the background calico and the corner squares
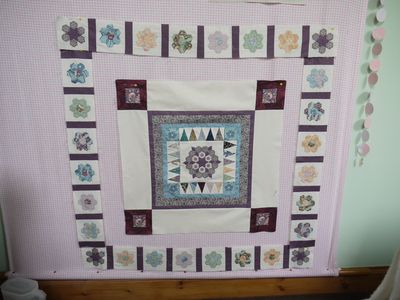
then added the next small border
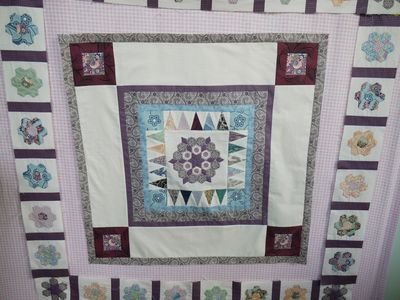
this gave me the framework within which I shall applique the diamonds
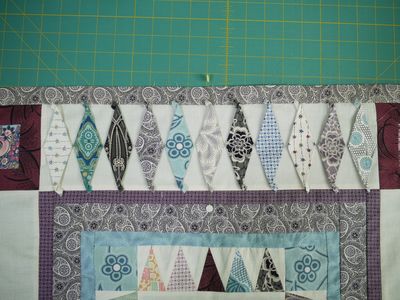
next came another calico border, which will have small squares on point appliqued on it
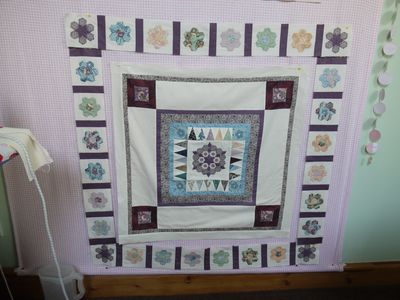
then came a dark purple border, to tie in with the sashing on the hexie flower border
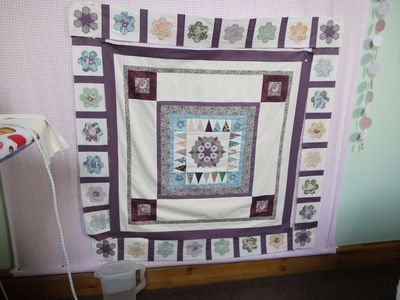
I had cut the purple border wider than the pattern said, thinking that I might have to do a bit of adjusting to get it to fit. But there was a slight problem, as instead of being too big, it fitted exactly ........
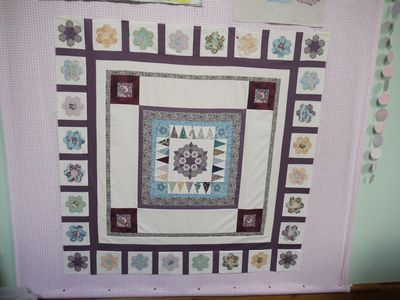
which means the wider border doesn't line up with the sashing
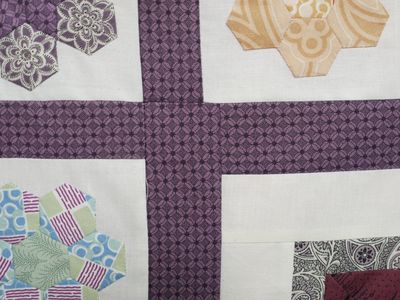
there are two ways I could fix this, one of which involves a lot of unpicking and restitching ......... or I could simply add something over the offending joins, such as the pyramids which will form the last border
so now I can sit and happily applique first the diamonds, which are prepped ready to stitch, and the squares, which are all cut out, which I will enjoy much more than all that horrid piecing by hand!!